A pen-plotter hack turns scratched plastic into depth-coded holograms
A hobbyist reverse-engineers holography from a greasy fingerprint smudge, then automates it with a pen plotter
No lasers, no math required to understand it — just curved etches whose curvature encodes depth
The whole trick reduces to one physical fact: a glare's apparent motion across a curved reflective ridge is inversely proportional to that ridge's radius of curvature — exactly how real objects seem to move slower the farther away they are. Etch ridges with the right curvature per point, and you've encoded depth into a flat scratched surface.
From smudge to method
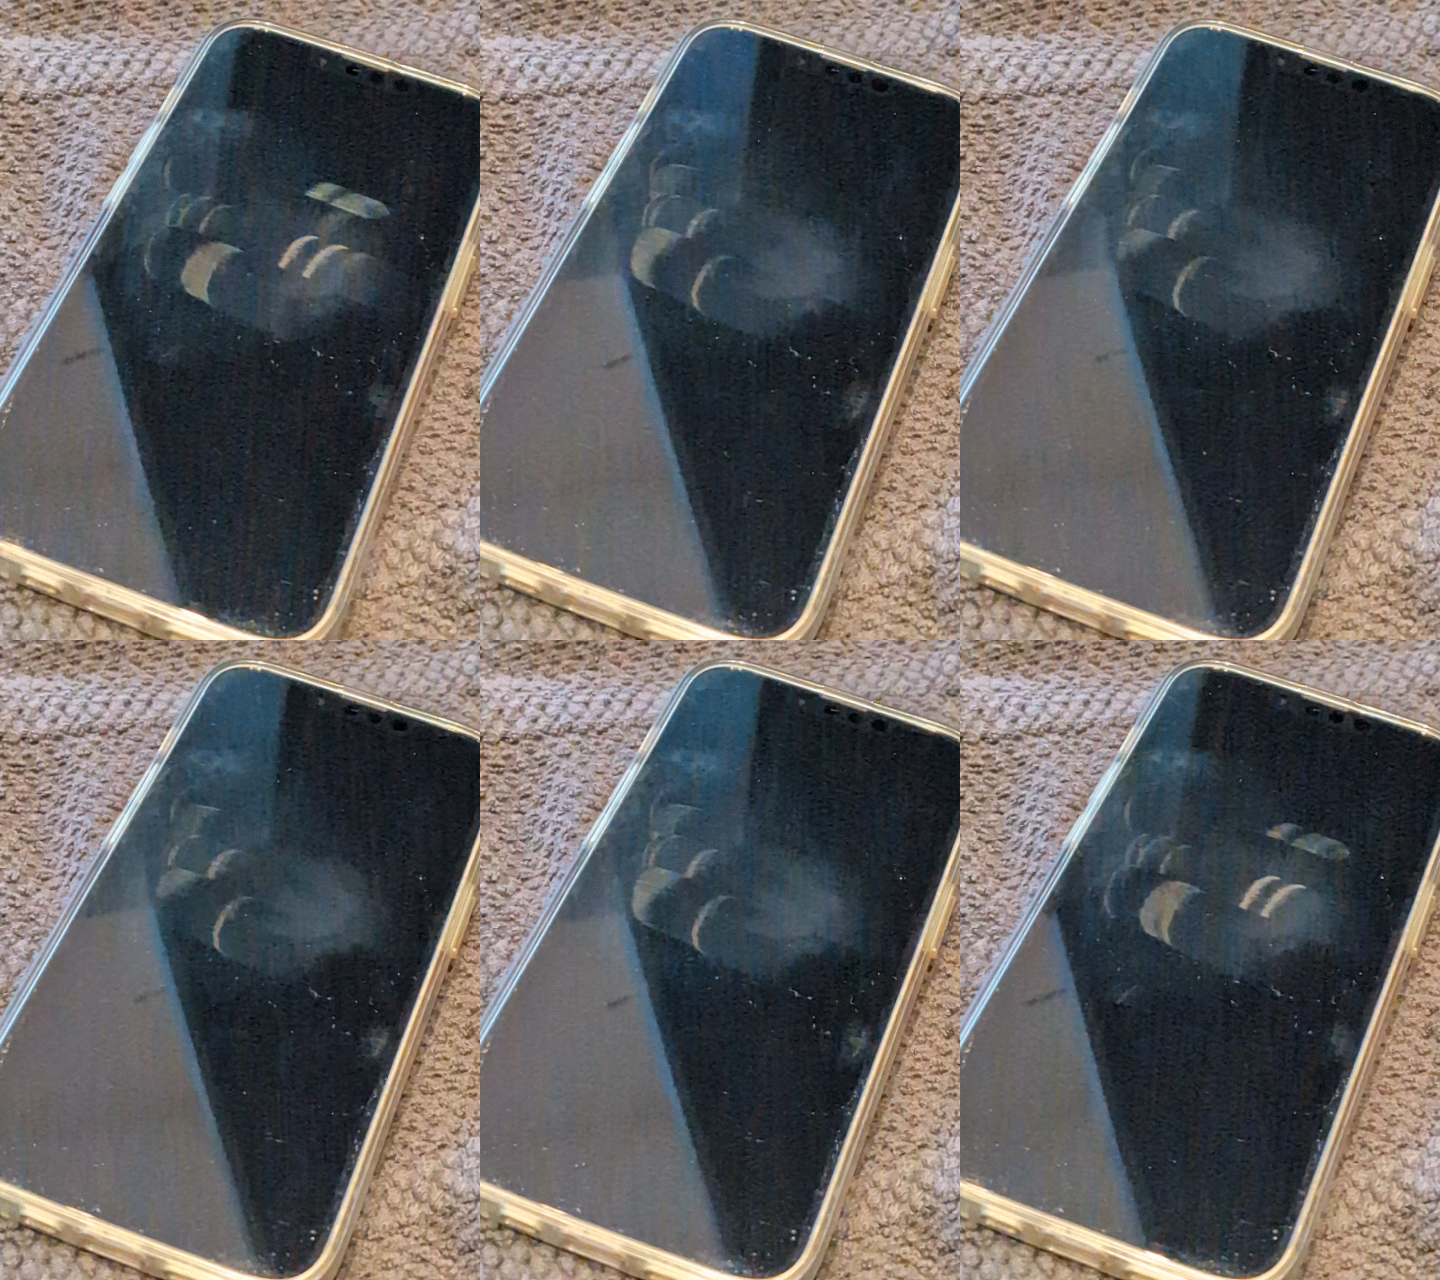
The author starts from something anyone can replicate: smear oil on a phone screen and watch the light highlight move as you shift your head. That highlight tracks the curvature of the ridges it's bouncing off. Steepen the curvature and the highlight barely moves; flatten it and the highlight sweeps fast — the same relationship that makes distant real-world objects appear to move slowly relative to your head. Render a 3D scene by turning each point into a ridge whose curvature is set by that point's distance from the viewer, and you get a hand-etched 'hologram' with no laser, no interference pattern, and no equations needed to grasp why it works.
Getting to a working artifact
- Tried clear plastic lamination sheets
Failed — too flexible, moved while etching, too wavy to reflect coplanar to viewing angle
- Tried waxed colored paper (elementary-school craft paper)
Torn and crumpled under the volume of curves needed
- Switched to old CD jewel cases
Bought a box on eBay expecting new ones, got dirty used ones instead — worked anyway
- Found the right tool: a sharp pick from a hooks/picks set
The pokiest straight pick worked on jewel cases but destroyed the paper attempts
- Rendered scene math via pen plotter
Each point becomes roughly a hyperboloid section (approximated as a circle near 0° viewing angle); plotter draws precisely what hand-etching cannot at volume
What makes the illusion work vs. break
Works
- Point-source light (flashlight aimed near-directly into the eye)
- Rigid, hard material (CD jewel case plastic)
- Sharp, narrow etching tool (pointed pick)
- Curvature inversely proportional to point distance
Breaks
- Ambient / wide-area light sources — smear the virtual image points, killing depth cues
- Flexible materials (lamination sheets) — move during etching, don't stay coplanar
- Soft materials (waxed paper) — tear under dense etch patterns
- Over-etching — too many passes turn the surface into a matte blob, destroying the effect
Prior pen-plotter work and the smudge experiment that started it
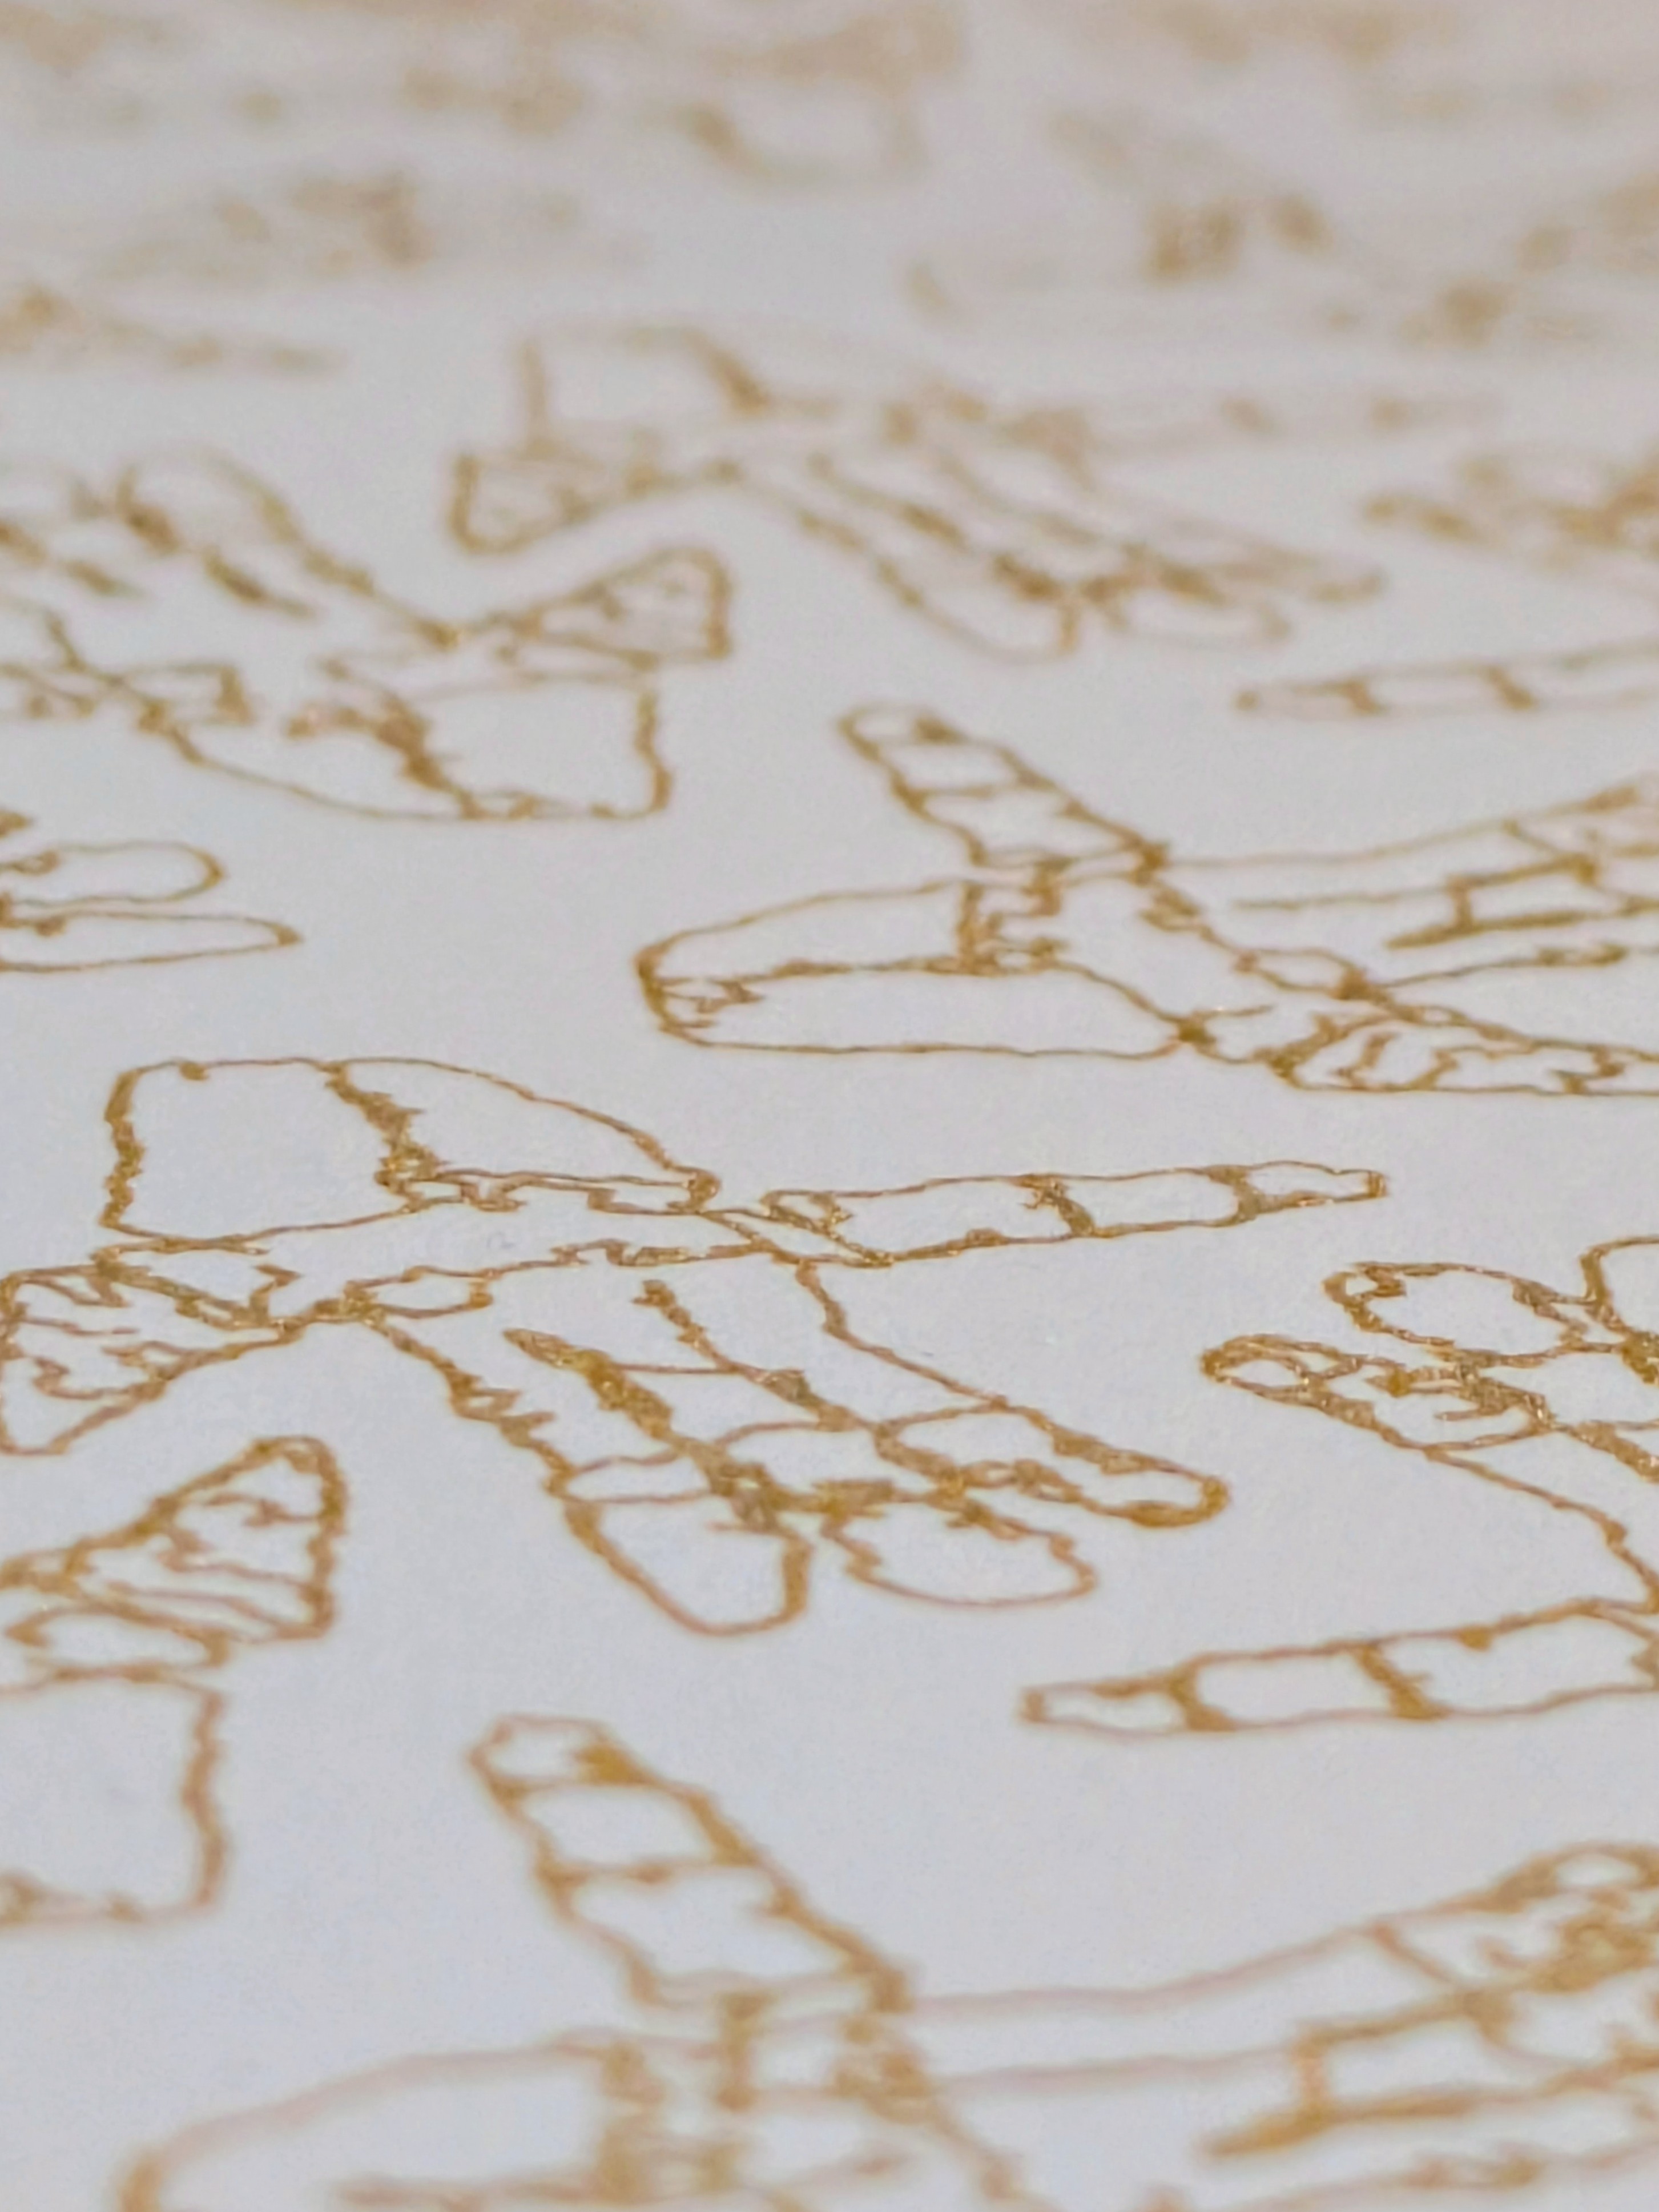
Gold-ink pen-plotter postcard of an Iguanodon fossil — an earlier example of exploiting the plotter for effects impossible by hand or printer.
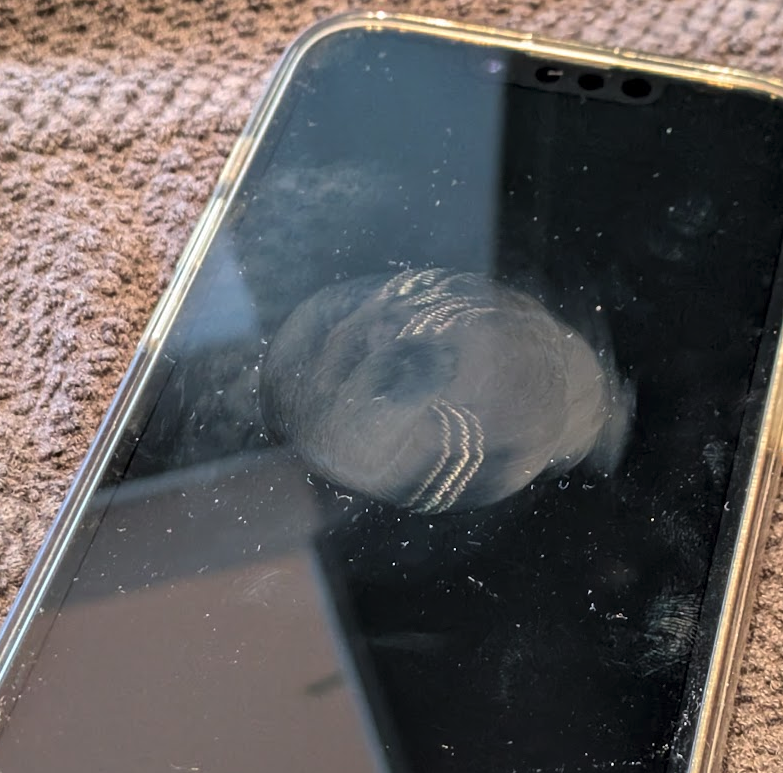
Schematic of light bouncing off a curved smudge ridge into the eye — the core geometric intuition behind the whole method.
The author explicitly declines to claim these are 'real' holograms in the formal (laser-interference) sense — he defines them loosely by the property he personally cares about: that even small cutouts retain a full copy of the scene. This is a stated, not resolved, terminology gap.
Unresolved material problem
Denser etching improves apparent resolution but degrades the reflective surface into a matte blob past some threshold — the author has not found the ceiling material or tool (he floats trying a diamond-tipped stylus but hasn't tested it). This is a live, unsolved trade-off in the project, not a settled result.